

Our Executive School Directors worked together to provide our TGS families with at-home projects that bring our preschool curriculum right into your living room. From developing reading skills and learning about science to just having fun playing, there are lots of opportunities for learning and interacting with your young children. We hope you enjoy engaging with your children through these creative developmental activities. This post shares our favorite art projects to create with your little ones.
If you don’t have the items listed on hand, feel free to substitute them with materials you have at home. We hope you enjoy these fun ideas!
Hermit Crab House
This project will help promote color recognition, fine motor skills, and gross motor skills. The design ideas are endless, and there’s no right or wrong way to make your little crab’s home!
You’ll need:
- Paper plate
- Paper
- Glue
- Glitter
- Paint
Use the paint, glue, paper, and glitter to decorate the back of the paper plate. Cut a semi-circle on one side of the plate. Then, trace your child’s hand shape on the construction paper and help your child decorate their friendly hermit crab. Once your crab is complete, cut it out and add two antennas with eyes to the hand shape. Lay the paper plate decorated side up and slide the crab into the house.

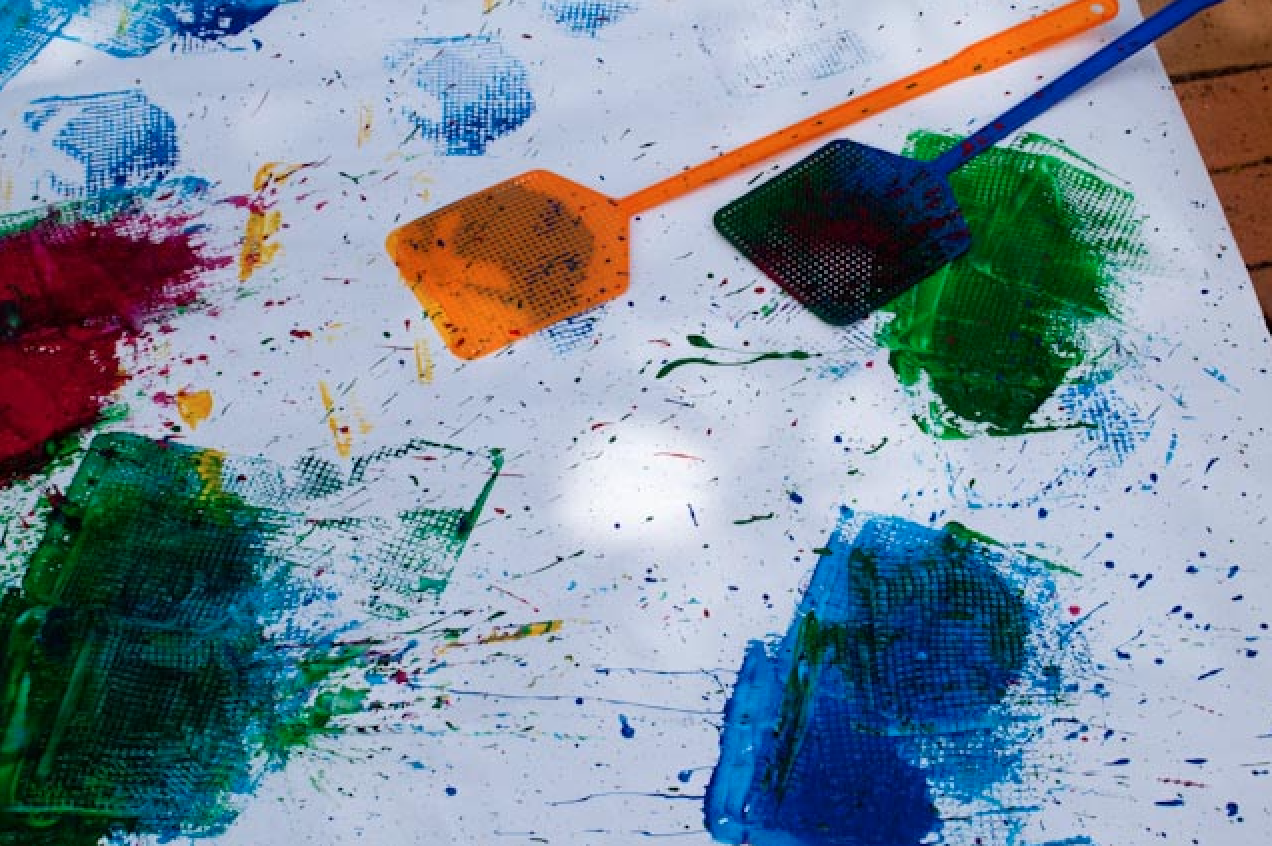
Fly Swatter Painting
This art activity promotes fine motor skills, gross motor skills, and color recognition.
You’ll need:
- Large sheets of paper
- Non-toxic paint
- Unused or clean fly swatters
This activity is best done outside. Spread a large piece of paper down on the ground. In large pans, arrange different colors of paint. Have your child dip the fly swatters into different colors of paint. Then, encourage them to get kinetic with their art by swatting the paper. You can encourage them to describe the different shapes and patterns being made on the paper. Older children may be able to name the new colors being made as the paints mix together.
Growing Flowers
This activity teaches hand-eye coordination and being creative through artistic expression.
You’ll need:
- Paint
- Markers
- Plastic or metal forks
- Paper
With your child, draw green grass and flower stems of differing heights on the paper. Next, take a fork and dip it into the paint. With the fork tines lying parallel to the paper, stamp the fork on the paper to create flower shapes at the top of the stems.

Sensory Art Leaves
This is a fun project that keeps mess to a minimum. Your child can enjoy crunching, squishing, and playing with this modified sensory-table-in-a-bag!
You’ll need:
- Paper
- Tape
- Leaves
- Gallon Ziploc bag
- Paint
Tape the leaves to the paper and place the paper inside the Ziploc bag. Add a few globs of paint to the inside of the bag and then close the bag up. Your child can enjoy and explore all the different textures, colors, and sounds in the sensory bag. When you’re finished, simply toss the bag and move on to your next activity!

Animal Tracks
This activity benefits a child’s grasp of different objects and shapes while also honing fine motor skills.
You’ll need:
- Plastic animals that can make “tracks”
- Paint
- Paper plate
- Construction paper or printer paper
- Tape to hold the paper down
Place the paint on the paper plate to serve as a palette. Then, tape a sheet of paper down onto a table or highchair tray in front of your child. (Tip: Secure a flat trash bag or wrapping paper under the construction paper to protect the table from paint splatters.) Hand them a few plastic animals and encourage them to “walk” the animals through the paint and stamp their tracks onto the paper!
Earth Paint in a Bag
Perfect for Earth Day or Arbor Day, this activity consists of mixing paint to create a plate-sized model of our amazing planet.
You’ll need:
- White paper plate
- Large plastic Ziploc bag
- Green and blue paint
Place drops of blue and green paint on the plate and then put the plate inside the plastic bag and seal. Your child can rub their hands on top of the Ziploc bag to mix and move the colors on the plate. Once the whole plate is covered, carefully remove it from the bag to let it air dry.
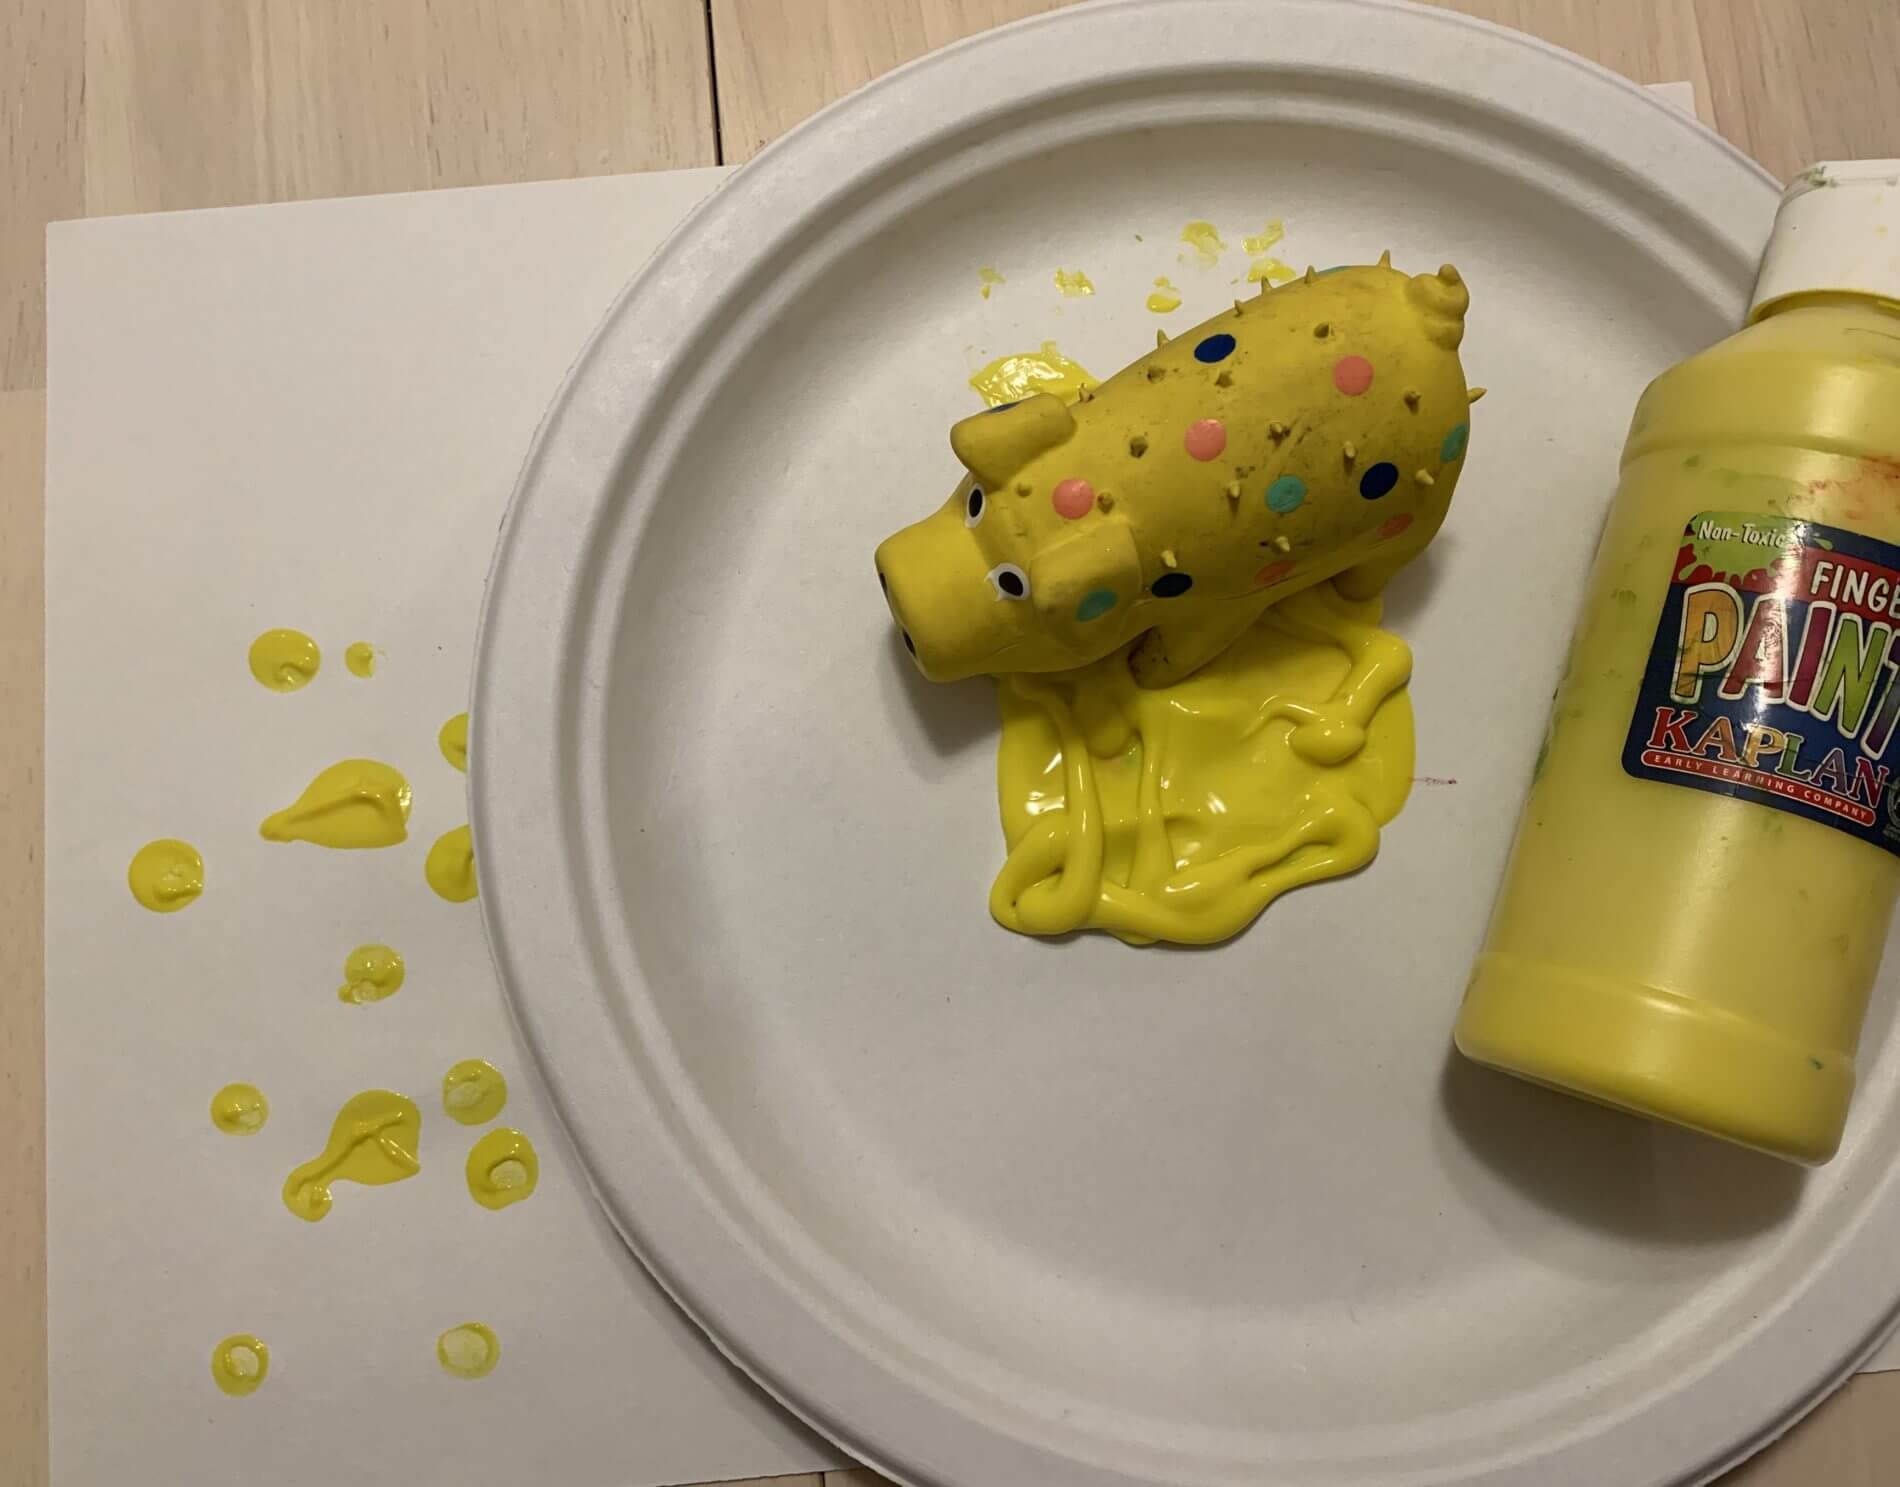
No-Mess Finger Painting
This activity lets children create fun pieces of art while working on fine motor skills and enjoying sensory play. For older students who are learning color recognition, have them identify what color paint is being put onto the paper.
You’ll need:
- Paper
- Tape
- Plastic bag
- Paint
Add small- to medium-sized drops of paint to the piece of paper and put the piece of paper inside the plastic bag. (If you don’t have a bag, you can tape parchment paper or saran wrap around the paper on a cardboard box.) Once the paper is inside the bag, tape the bag to the table or floor. This helps to keep it secure while the child is painting. Once you have everything prepped, let them enjoy it! They will smear and rub the paint all over the page. After they’re don
Leaf Animals
This activity promotes creativity and imagination by making animal art companions!
You’ll need:
- Leaves
- Paint
- Glue
- Paintbrush
- Paper
- Googly eyes (optional)
Lay your leaves flat on a piece of paper. Have your child paint the leaves any way they would like. Ask your child what animals they see the leaves becoming while doing this activity. You or your child can even paint a face, fur, or spots to help bring their animal to life. Have any googly eyes? Add them to the masterpiece to create a leaf menagerie!
Watercolor Sky Portraits
This art activity promotes fine motor skills and color recognition skills. It also helps encourage creativity and imagination as children paint what they see in the sky.
You’ll need:
- Paper
- Watercolor paints
- Paintbrush
- Cup of water
- Optional: Cotton balls and glue
This activity is best done outside. Place a piece of paper on the ground or table and ask your child to look up at the sky. Ask them to describe what they see. (You may hear answers such as clouds, birds, trees, butterflies, buildings, or planes.) Then, have your child use their paintbrush, water, and watercolors to paint a portrait of what they see in the sky. To add texture, you can have your child tear up cotton balls to create clouds.
Nature-Based Self-Portrait
Create a fun self-portrait using exclusively natural materials that you find outdoors. It’s a great way to combine a nature walk with a reflective, artistic activity.
You’ll need:
- Paper
- Glue
- Sticks, flowers, leaves, grass, and other natural materials
First, take a nature walk in your city, suburb, neighborhood, or a local park. Encourage your child to pick up materials they find, like rocks, sticks, leaves, seeds, and flowers. Once you return home, have your child create a picture of themselves or a loved one using only natural materials. Then, you can either take a photo of the portrait or glue it down for a more permanent piece or art.
Name Walk
While exploring the different textures of nature, the children are also able to write their names and work on letter recognition.
You’ll need:
- Paper
- Glue
- Leaves, flowers, sticks, stems, and twigs
Take a nature walk and collect leaves, twigs, stems, and flowers. Once you return home, write your child’s name in block capitals on a piece of paper. Then, have your child use the natural items they collected to lay on the block letters or recreate their name underneath in natural materials. Don’t forget to take a picture of your child’s creation or glue these items to the paper if desired.
Colorful Butterflies
These beautiful butterflies help children understand the basics of capillary action and color mixing. You’ll need:
- Coffee filter
- Markers
- Cup
- Water
- Ribbon or pipe cleaner
Have your child color the circular bottom of the coffee filter with their markers. Then, fill up the cup with a little bit of water and have your child place the folded-up coffee filter inside the cup. Ask your child to guess what will happen, and watch as the colors travel up the filter. Once the colors are finished spreading, lay the filter flat to dry. When it is dry, pinch the center together and tie it with a pipe cleaner or ribbon. Display your gorgeous butterfly for all to see and admire!

Natural Suncatchers
Using translucent materials such as leaves and flowers will help create a stunning suncatcher for any window.
You’ll need:
- Flowers, leaves, and other flat natural materials.
- Paper plate
- Contact paper
- Yarn or ribbon
- Safety scissors
- Hole punch
First, go on a short nature walk to collect the items that will decorate your suncatcher. Then, make a frame for your suncatcher by having your child cut out the center of the plate. (If they’re still mastering scissors, an adult can help with this step.) Next, cut out two circles from the contact paper. Make the contact paper circles a little bigger than the plate circle. Stick one piece of contact paper on the back of the plate and then have your child add natural items to the sticky surface. Once your child has created a design they’re happy with, add the second circle of contact paper over the top to seal your sun catcher. Punch a hole in the top of the plate, and string yarn or ribbon through the hole. Hang in a window to enjoy.

Encouraging Creativity
We hope you enjoy these fun creative art activities that make spending time together with your preschooler even more special. The Gardner School provides your child with a daily schedule that sparks their learning and supports their intellectual, social, and physical growth. Schedule a tour to see our beautiful learning spaces in action.